How To Iron a Shirt
This is a new post for us. We’re trying out video and word blog posts. So in this post, we will be including our newest video which is titled….How to Iron a Shirt. The purpose of the post to create a mini-web series of “How To” videos to help out those who are struggling with various tasks. We’ll be covering a wide range of daily activities that either you or a maid service would be helping you out with.
How to Iron – Getting Started
So there are few things you will need to get started. They are…the shirt or clothing item you want to iron, a working iron, an ironing board, and a small spray bottle. 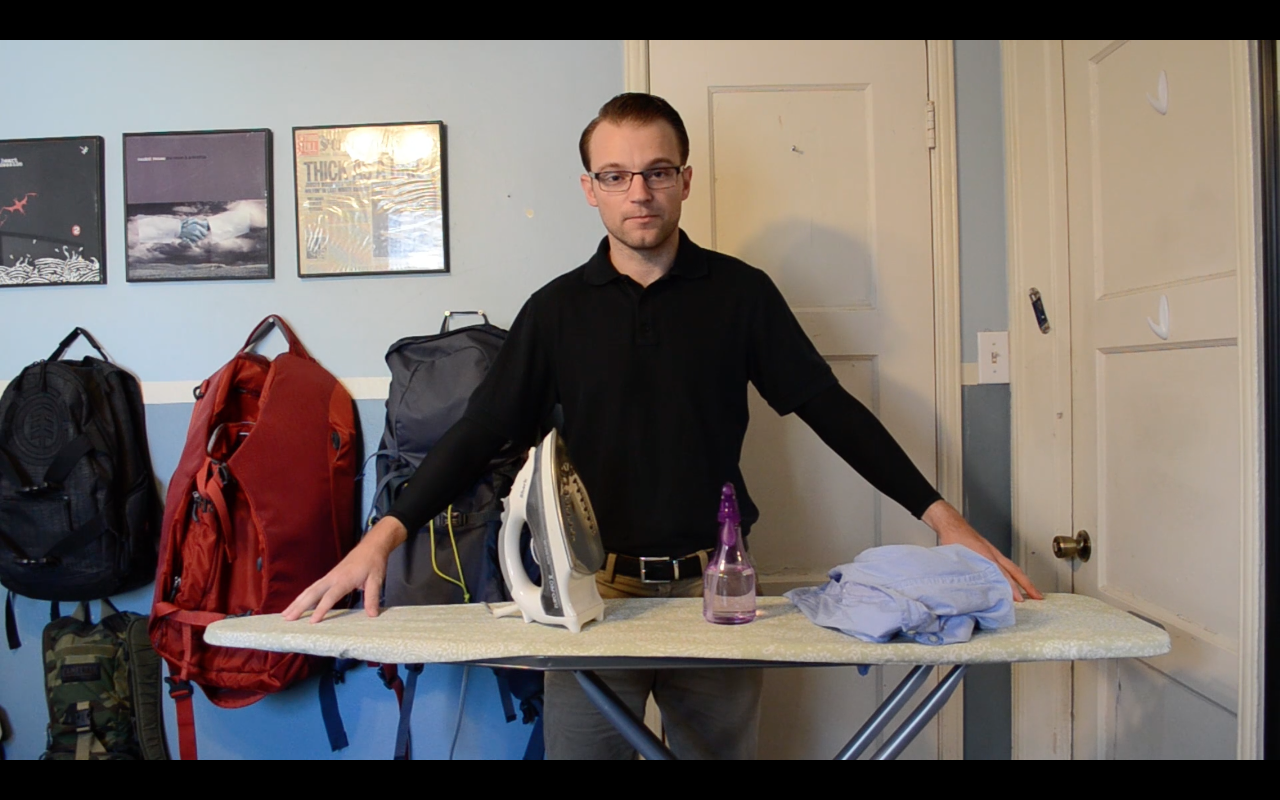 You can get by without the spray bottle, but they’re relatively cheap (I purchased mine for $2.99 from Ace Hardware). So once you have everything you need (picture posted for clarity), we ready to move onto the next step.
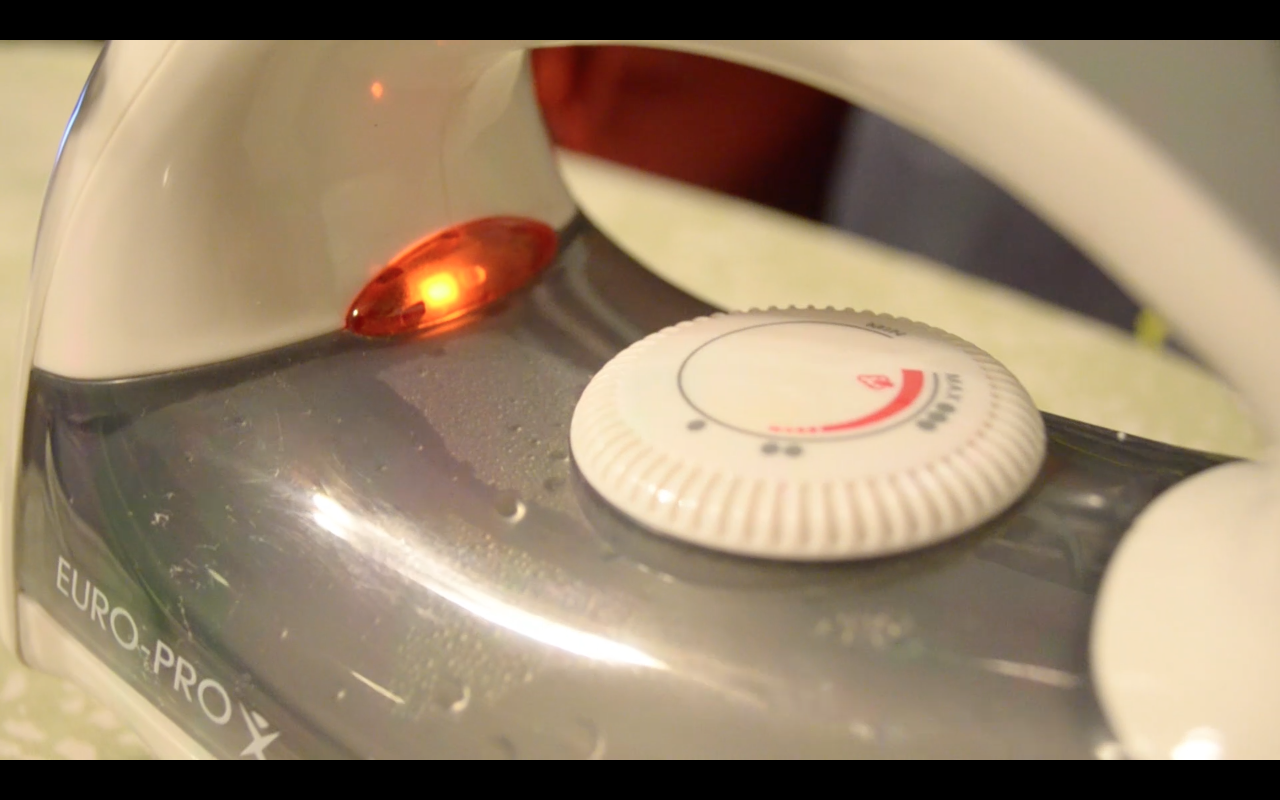
So now that we have everything laid out, we can turn on the iron. For our specific iron, to turn the iron on, we plug it into the wall and then there is a twist knob in the middle of the iron (pictured here). There is a light that will light up signifying that the iron has been turned on. The iron will take a few minutes to warm up, so let’s move onto to laying out the the shirt and getting everything else ready.
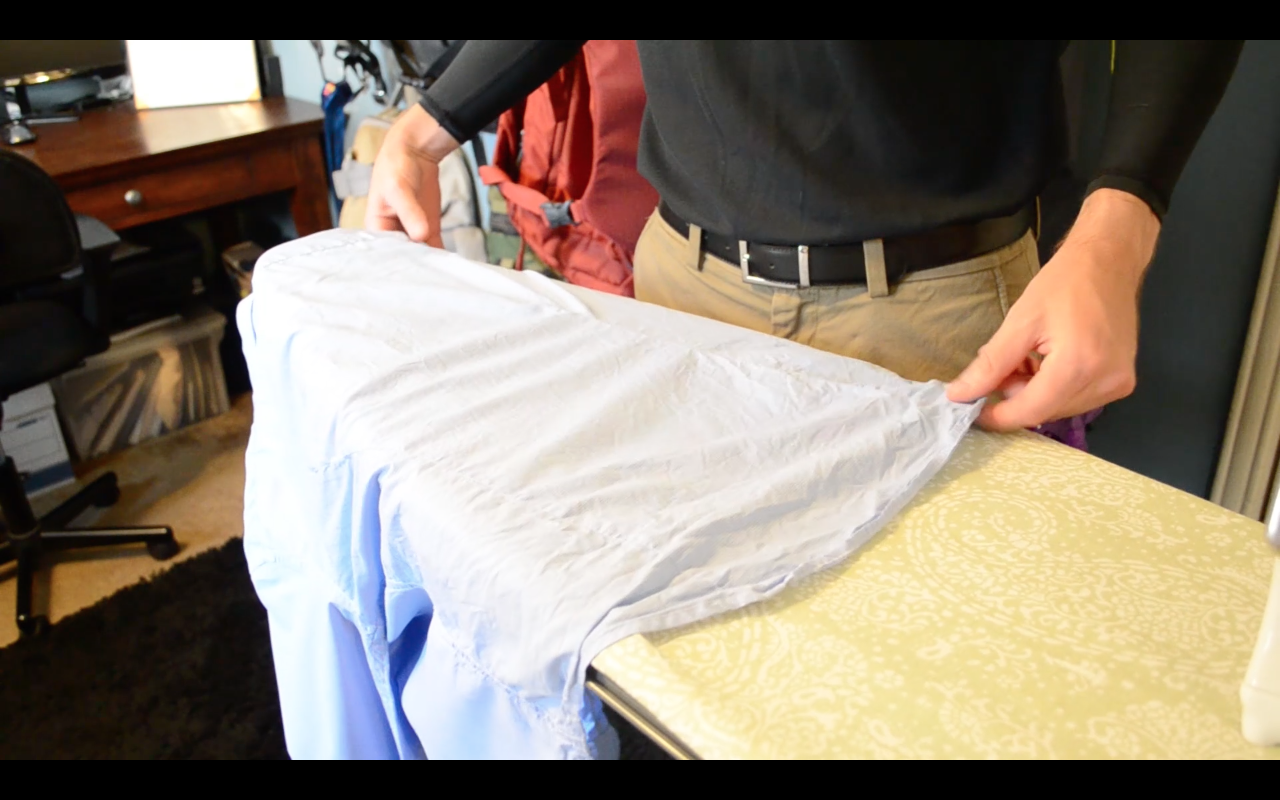
How to Iron – Laying out the goods…
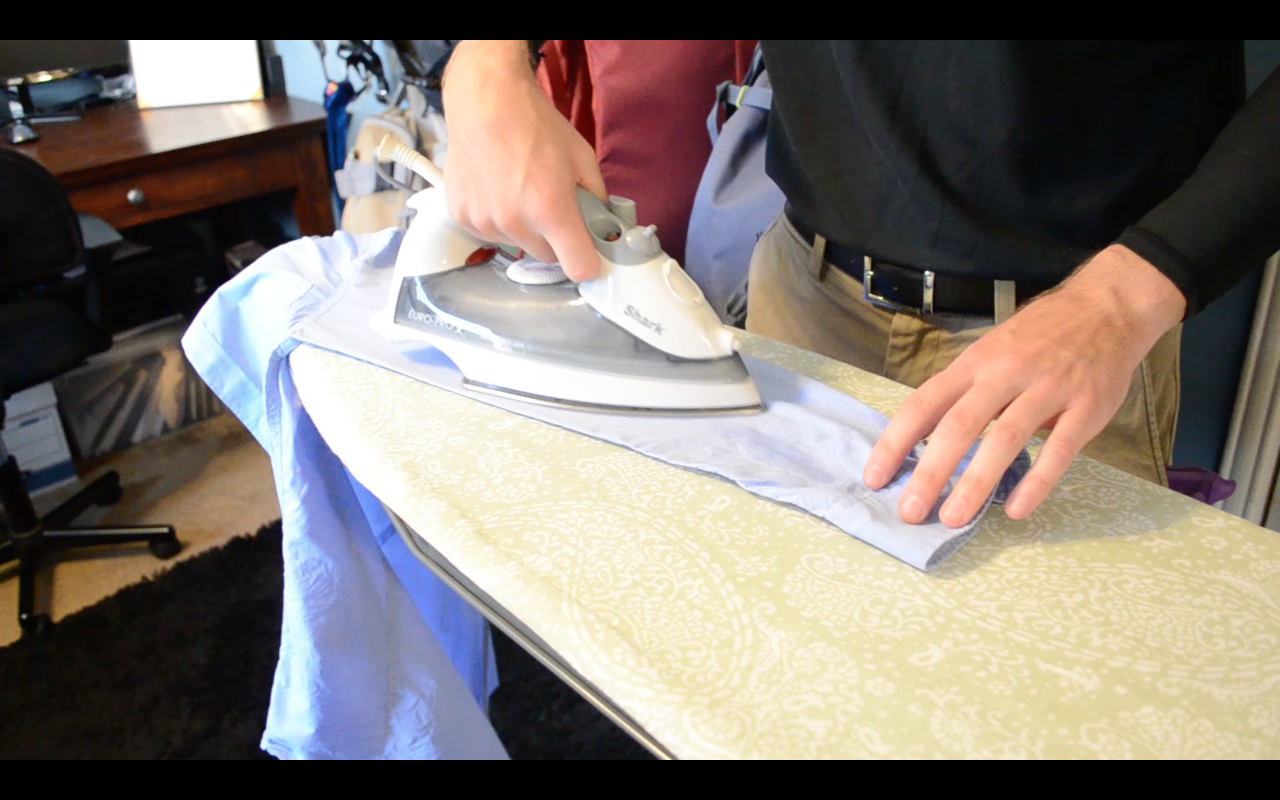
Alright, so you’re waiting on your iron to heat up. During this time you can lay out the piece of piece of clothing you want to iron. The top of the ironing board has a curved nose to help with the shoulders of shirts. Now that everything is ready, time to start ironing!
How to Iron – The Sleeves…
Now that we ironed both sides of the shirt, we can move onto the sleeves. I personally dislike ironing sleeves because they can be a pain in the butt. But it has to be done so we’ll iron them! There is small seem on the bottom of the sleeve that should be evened out and this will help make ironing that much easier.
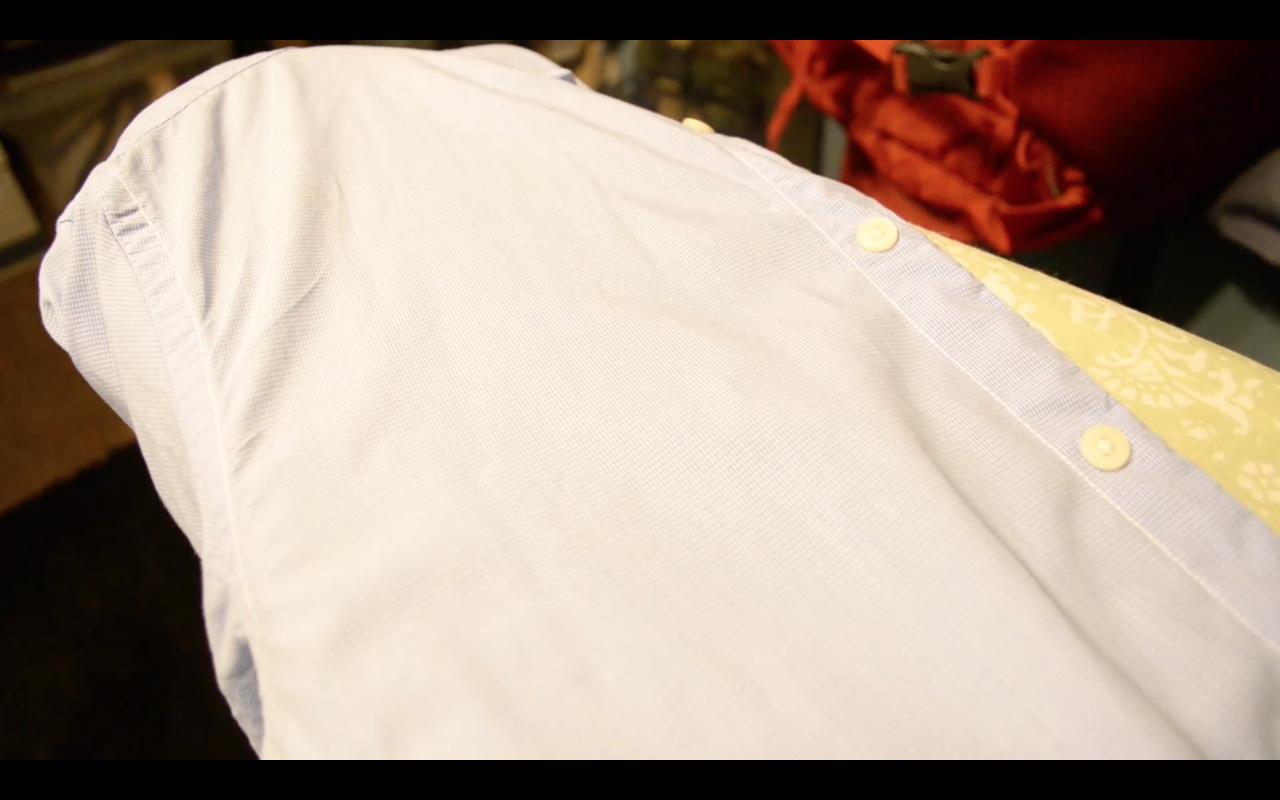
How to Iron – The backside
Now that you’ve finished the front and the sleeves, you can finish things off with the back of the shirt. Now, ironing the back of the shirt is necessary even though it will get wrinkled throughout the day. Once you finish ironing the back of the shirt, it’s ready to be put on or head into your closet to be used for another day! And that’s all there is to it.